前回の続き画像生成をGoogleColabで実行する方法です。

今回は拡張機能をインストールし、モデルを使用して画像を生成していきます。
今回ご紹介する拡張機能を使うことで、短い時間でモデルを使用できるようになります。
ではいってみましょう。
Civitai Shortcutをインストール
「Civitai Shorcut」とはCivitaiというサイトにあるモデルを直接ダウンロードするための拡張機能です。
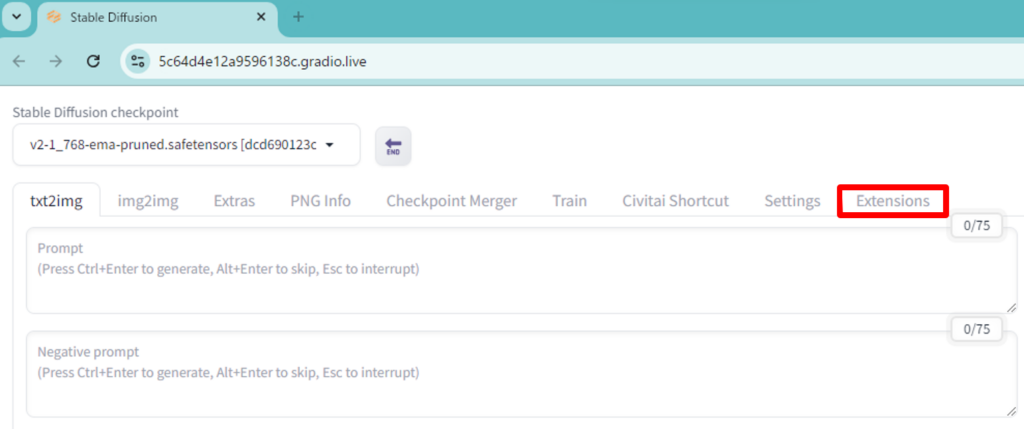
- 手順1「Extentions」タブに移動します
- 手順2「Install from URL」タブをクリックし「URL for extension’s git repository」の欄に次のURLを貼り付けます。
https://github.com/sunnyark/civitai-shortcut.git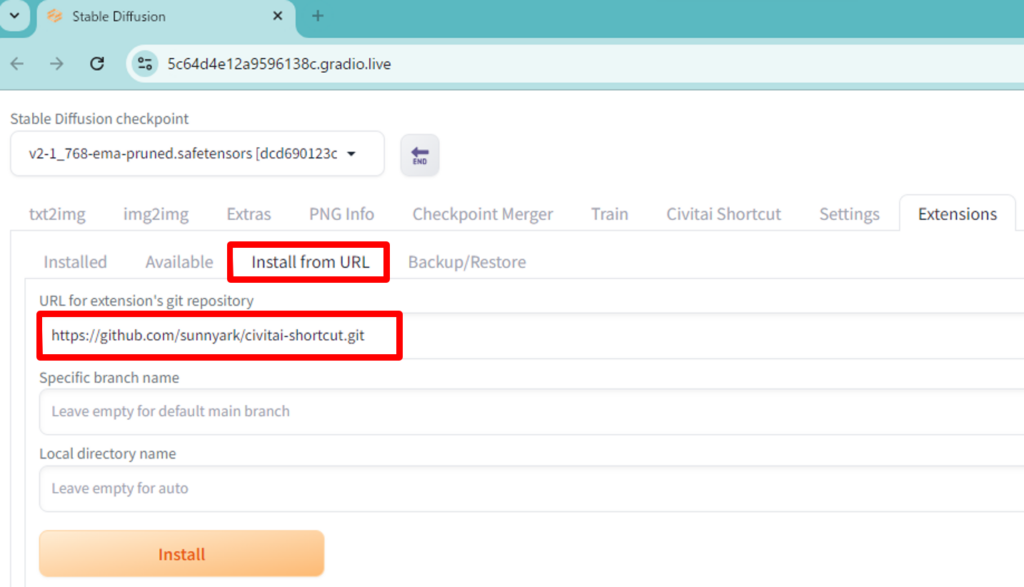
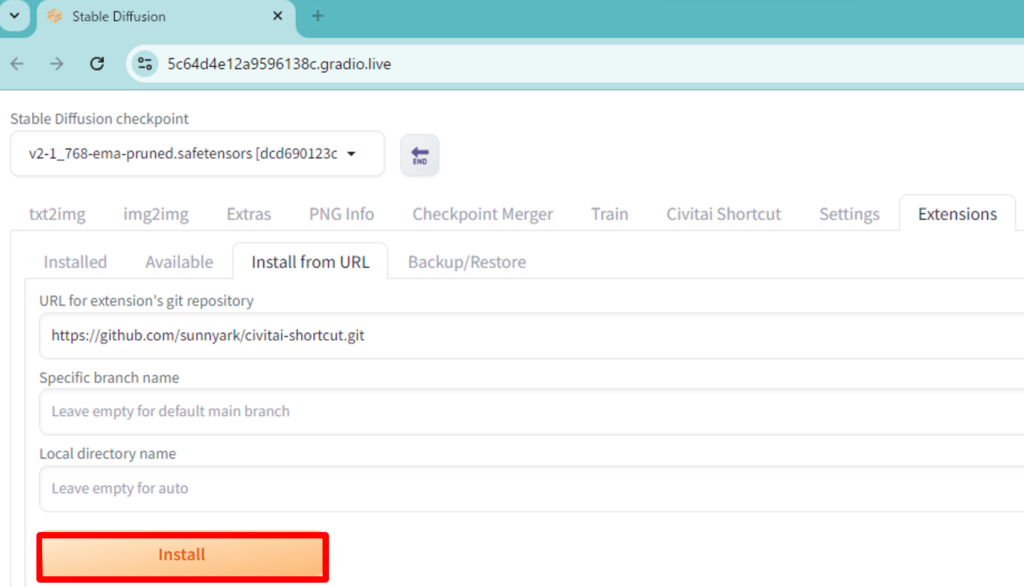
- 手順3「Install」をクリックします。
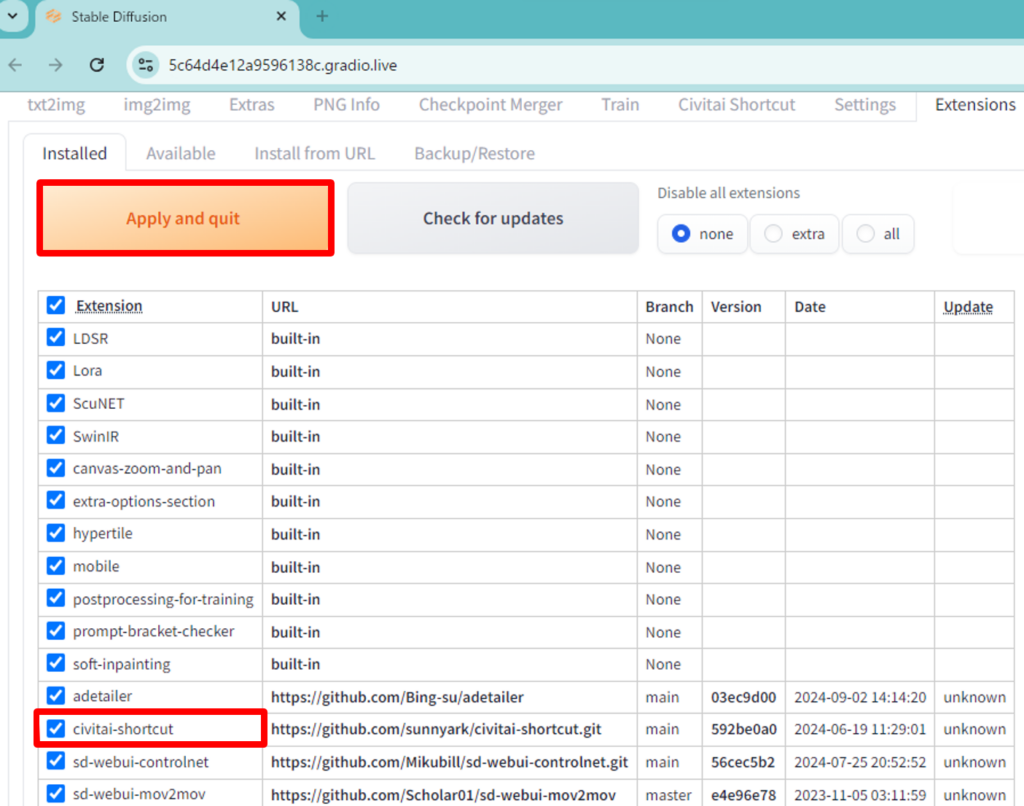
- 手順4「Installed」タブをクリックします。「civitai-shortcut」にチェックが入っていることを確認し「Apply and quit」をクリックします。
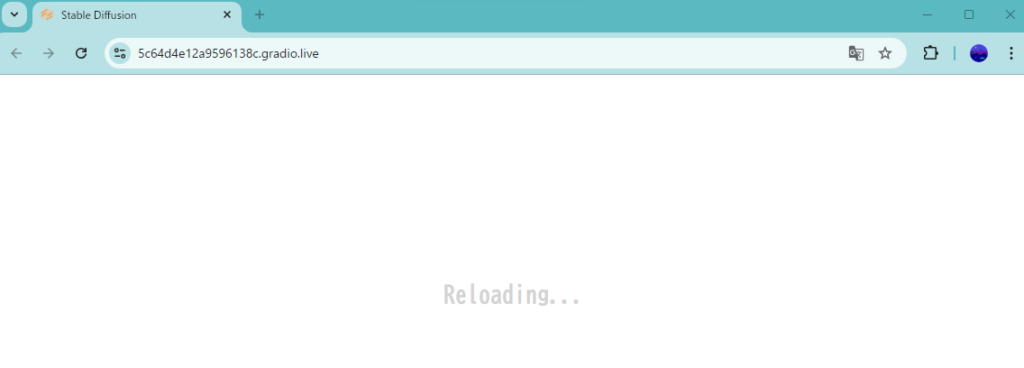
- 手順5Stable Diffusion Web UI の画面が Reloading… となり、GoogleColabの「▷」が停止状態になります。
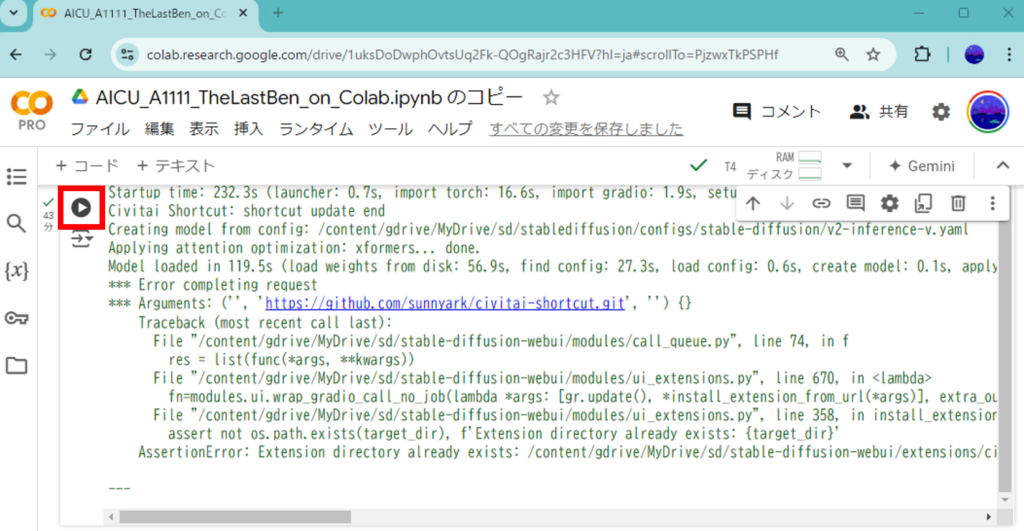
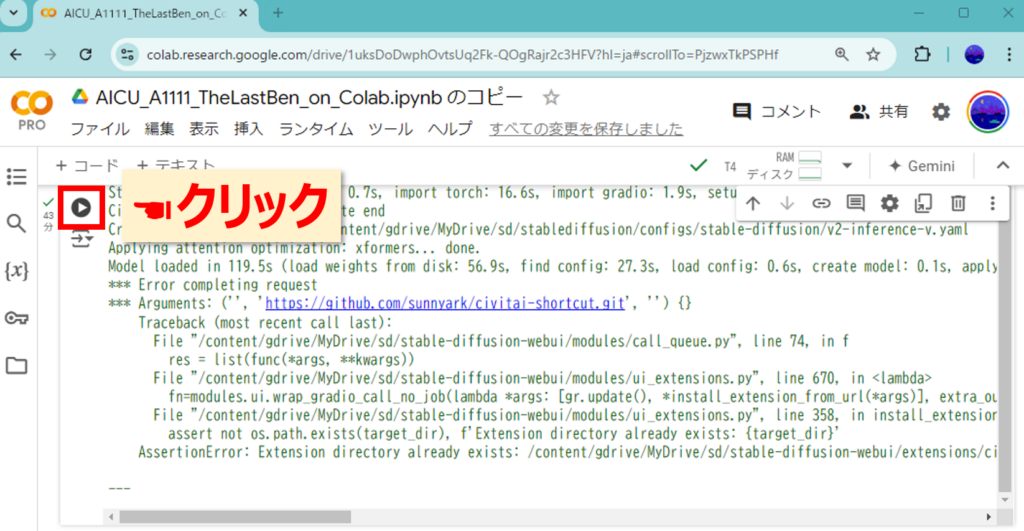
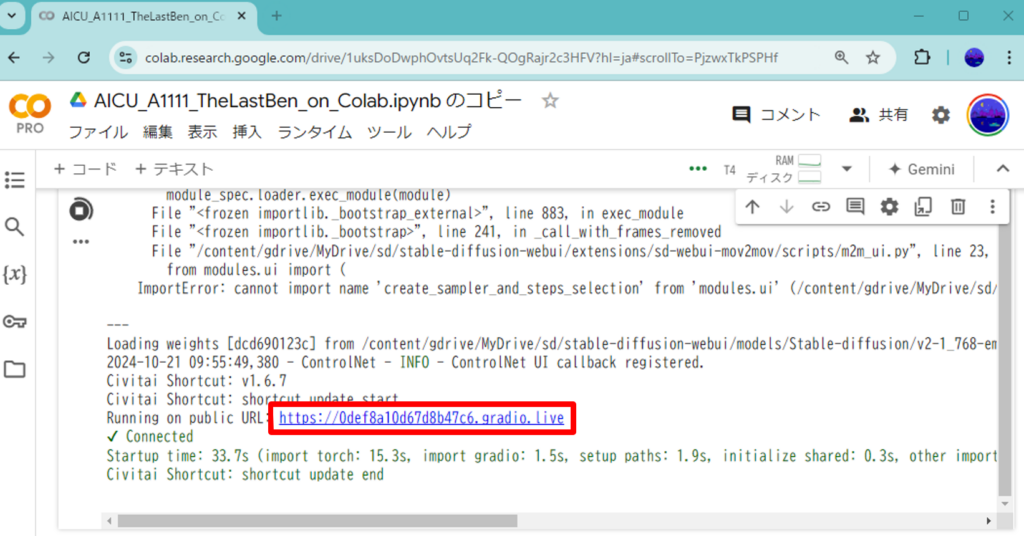
- 手順6GoogleColabの「▷」をクリックします。
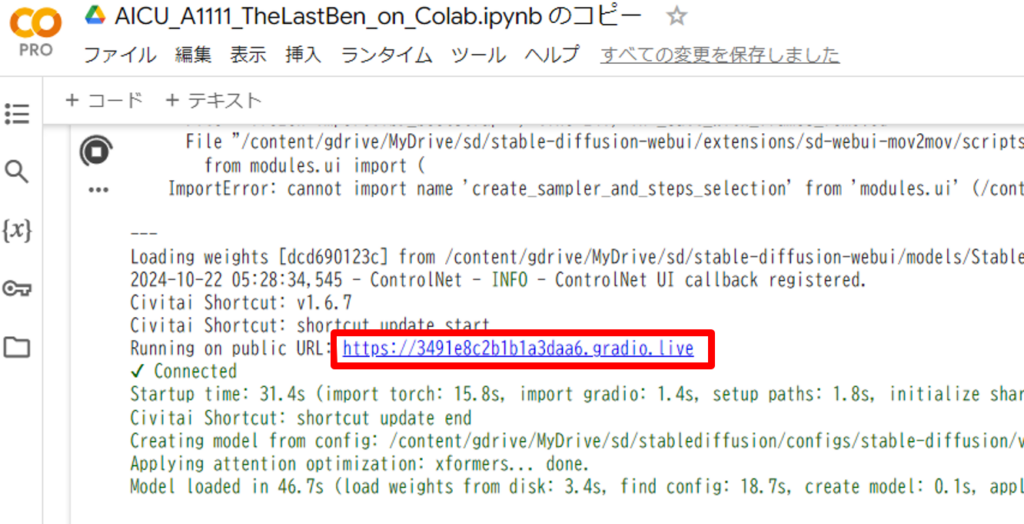
- 手順7表示されるURLをクリックします。
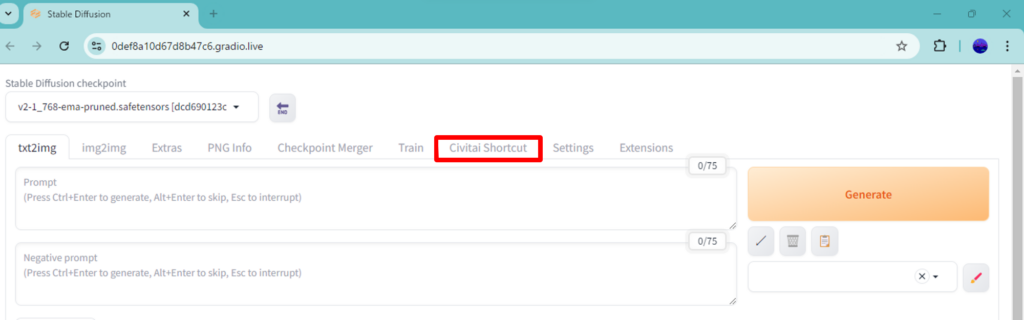
- 手順8「Civitai Shortcut」のタブが出現すれば成功です。
「Civitai」のAPIキーを取得する
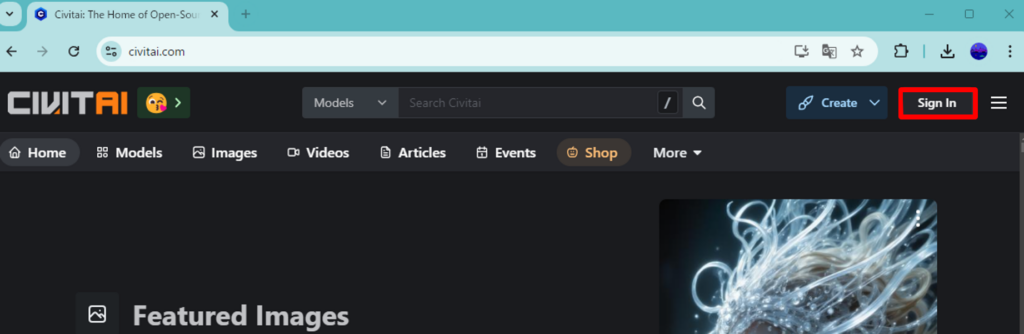
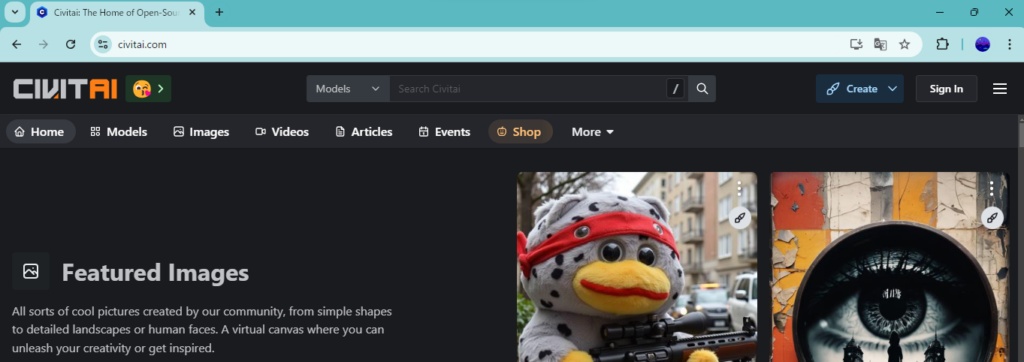
CivitaiのモデルのダウンロードにはAPIキーが必要な場合があります。そのためまずはAPIキーを取得しましょう。「Civitai」にアクセスして画面左上の「Sign in」をクリックします。
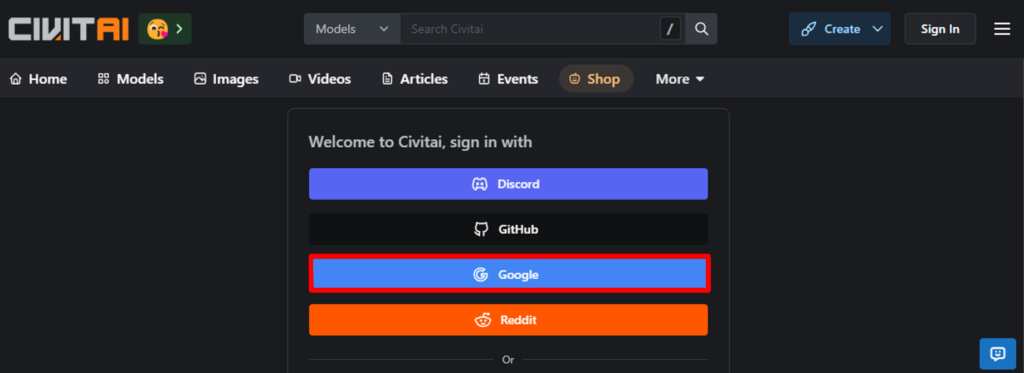
今回は「Google」でログインします。
画面右上のアイコンをクリックして「Account Settings」をクリックします。

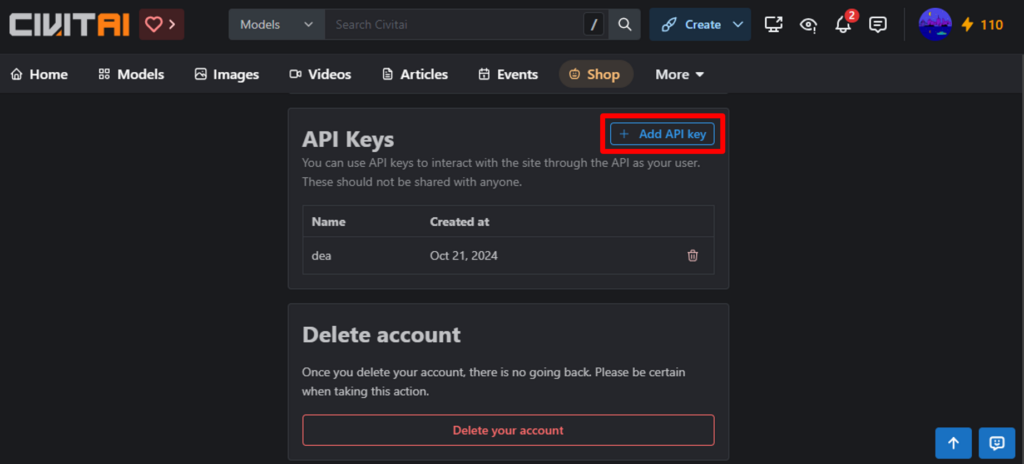
画面下にスクロールしてAPI Keysの項目の「+ Add API Key」をクリックします。
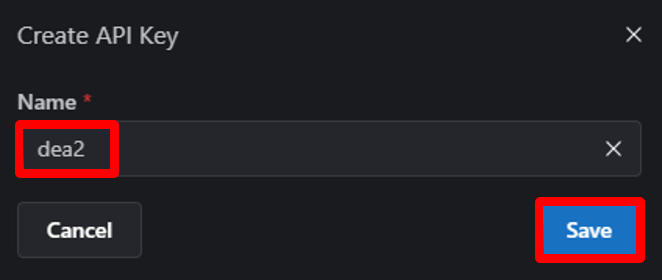
Name をご自由に記入し「Save」をクリックします。※Nameは何でもいいです。サンプルの dea2 は気にしないでください。
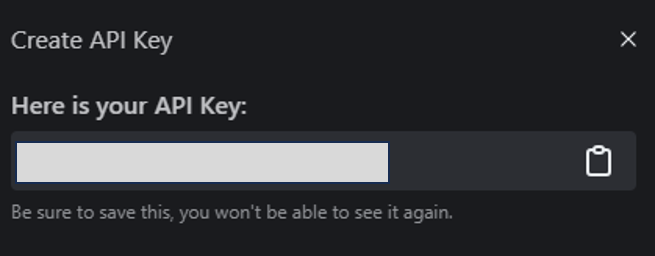
表示されたAPI Keyは必ずコピーして大切に保管しましょう。※APIキーは再度表示ができません。
APIキーの取得は以上です。
「Civitai Shortcut」からモデルのURLを取得する
「Civitai Shortcut」を使用するにはモデルのURLを知る必要があります。Civitaiのサイト「Civitai」を開きます。
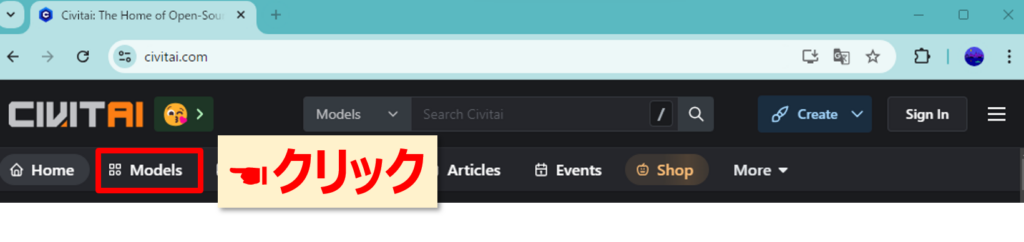
モデルを探すには画面上部の「Models」をクリックします。
すると次のように「Checkpoint」や「LoRA」と書かれた画像が表示されます。
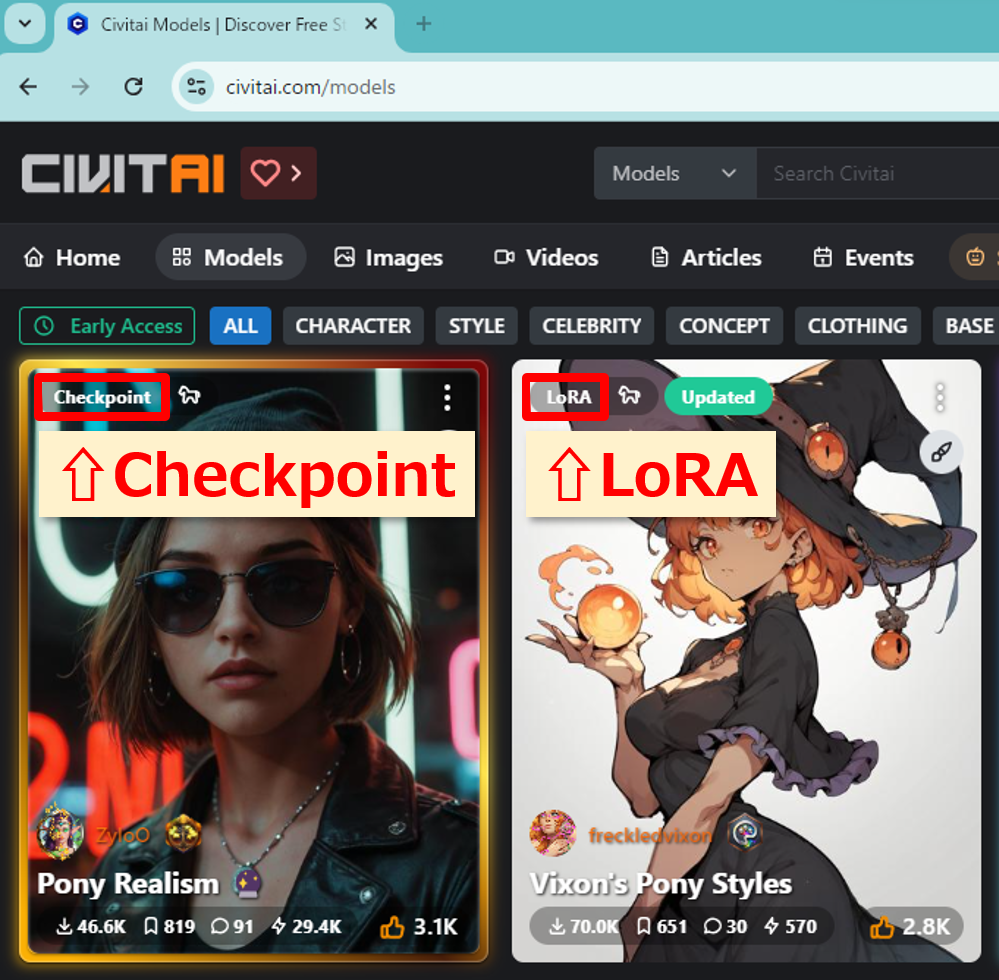
Checkpoint・・・トレーニング済みのモデル
LoRA・・・Checkpoint(モデルファイル)に対して追加学習を行ったカスタム用ファイル
画像を生成するためにはCheckpointが必要になりますのでCheckpointと書いてある画像のリンクをクリックします。
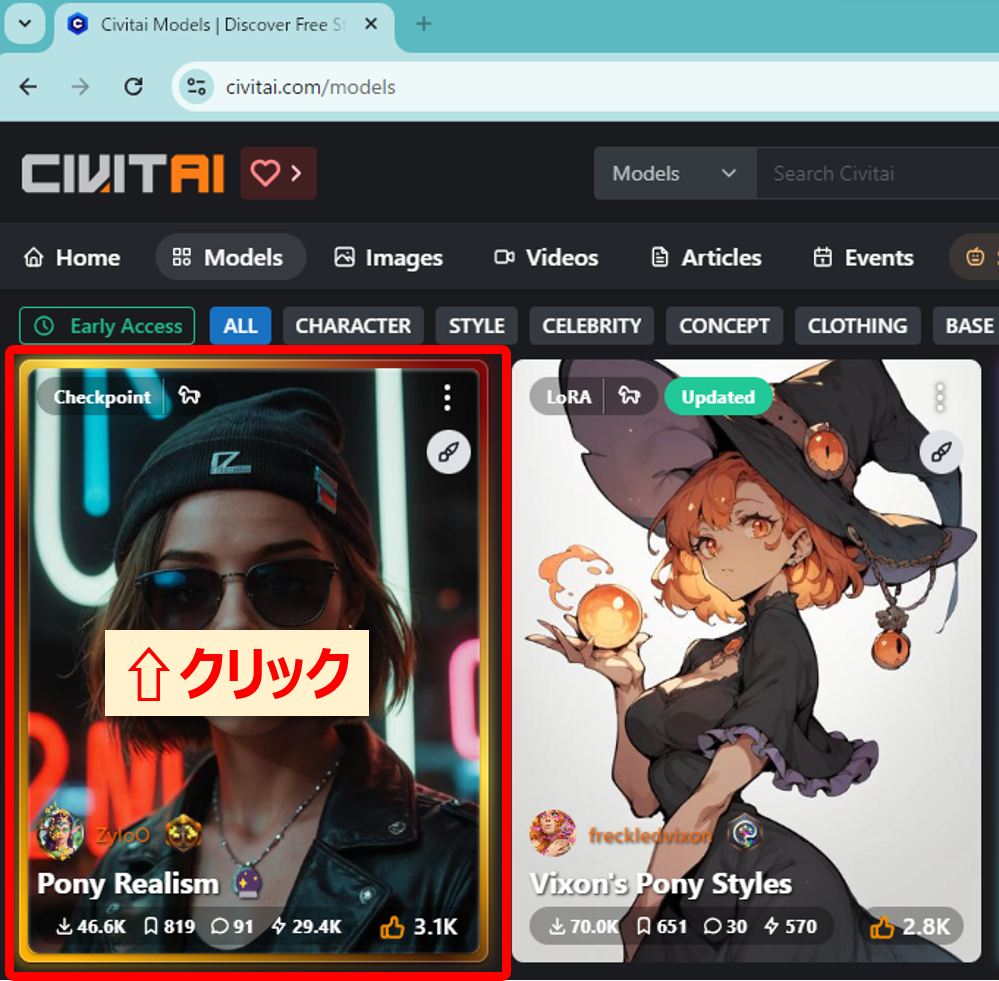
開かれた画面のURLをコピーします。

「Civitai Shortcut」にAPIキーを入力する
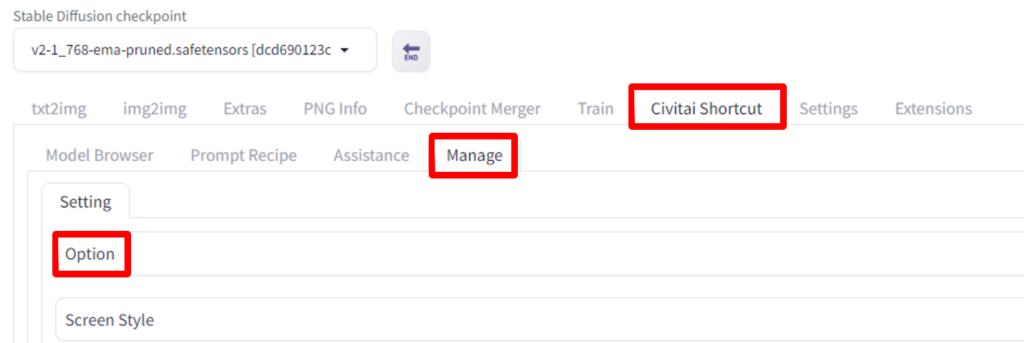
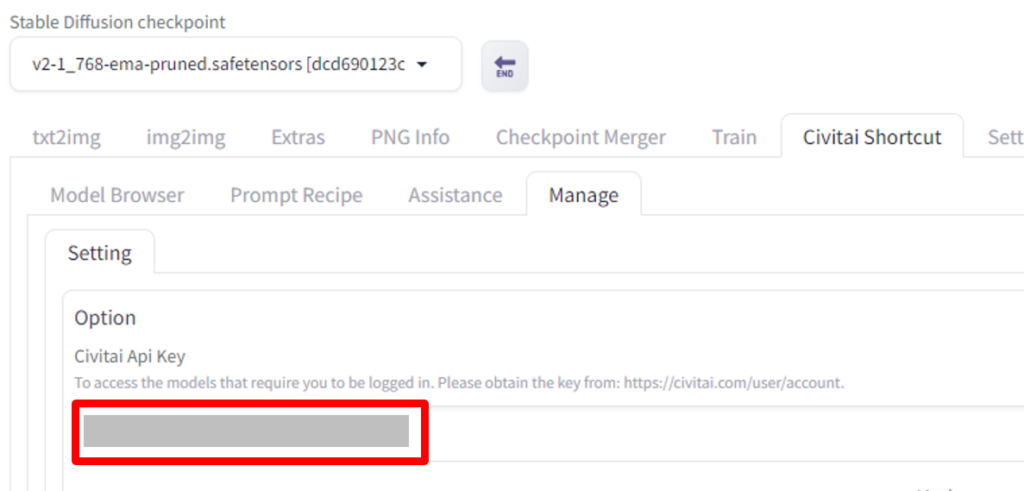
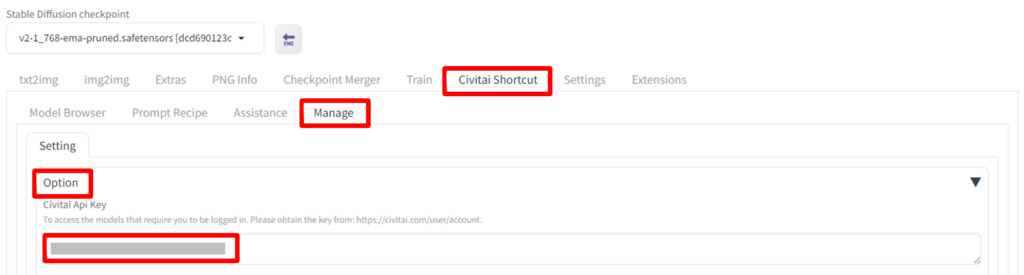
「Civitai Shortcut」⇒「Manage」⇒「Option」をクリックします。
「Civitai Api Key」に取得したAPIキーを入力します。
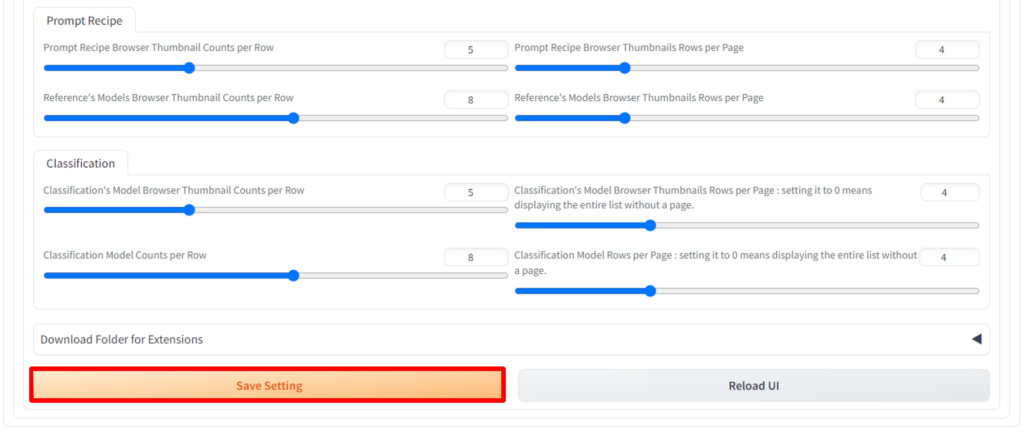
画面下にスクロールし「Save Settings」をクリックします。
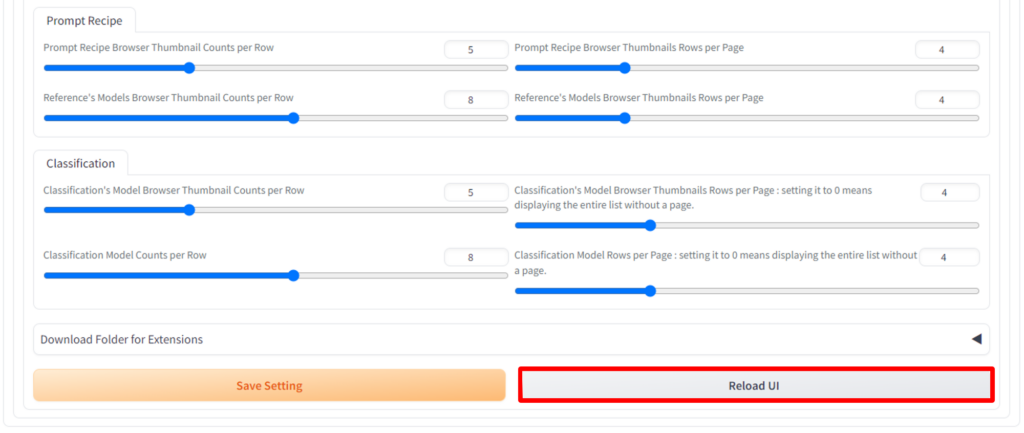
次に「Reload UI」をクリックします。
GoogleColabの画面に戻り「▷」が停止状態になっていることを確認し「▷」をクリックします。
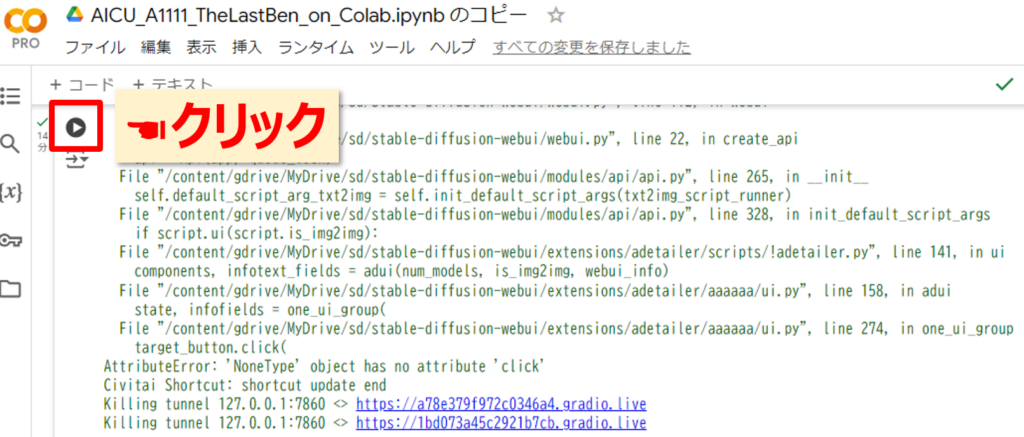
表示されるURLをクリックします。
先ほど入力したAPIキーが表示されれば成功です。※数秒待つと表示されます。
APIキーの入力は以上です。
「Civitai Shortcut」にモデルのURLを入力しダウンロードする
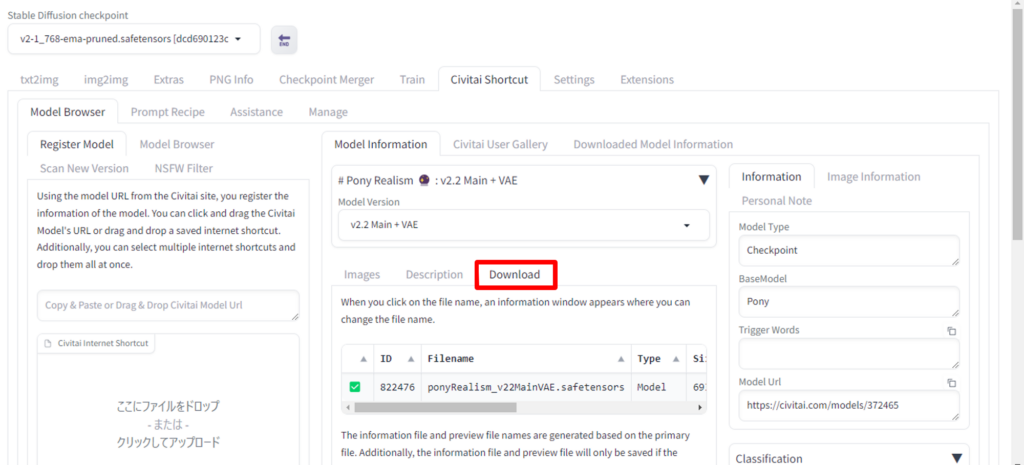
コピーしたURLをCivitaiShortcutタブの画面左の赤枠の場所に貼り付けます。
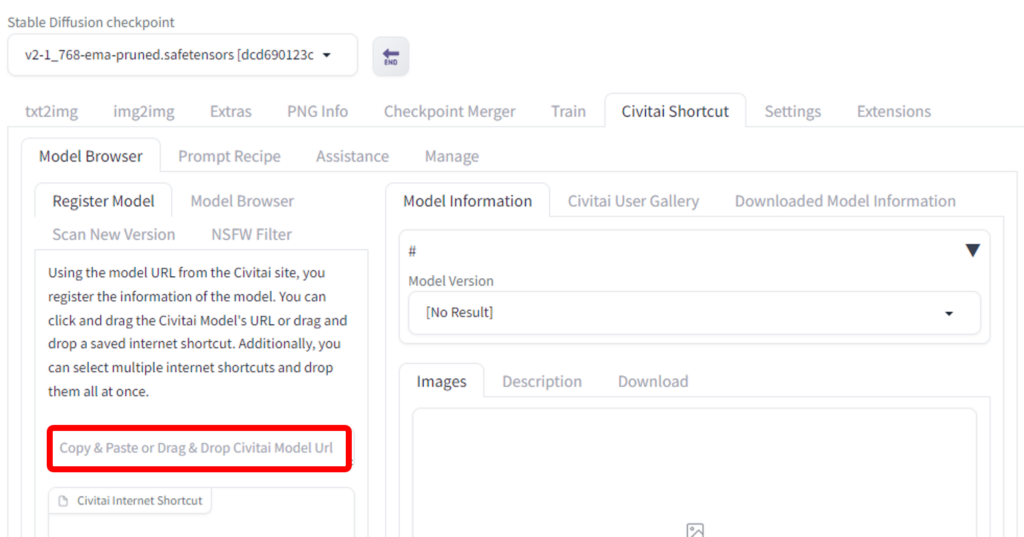
すると以下のように画像が表示されます。
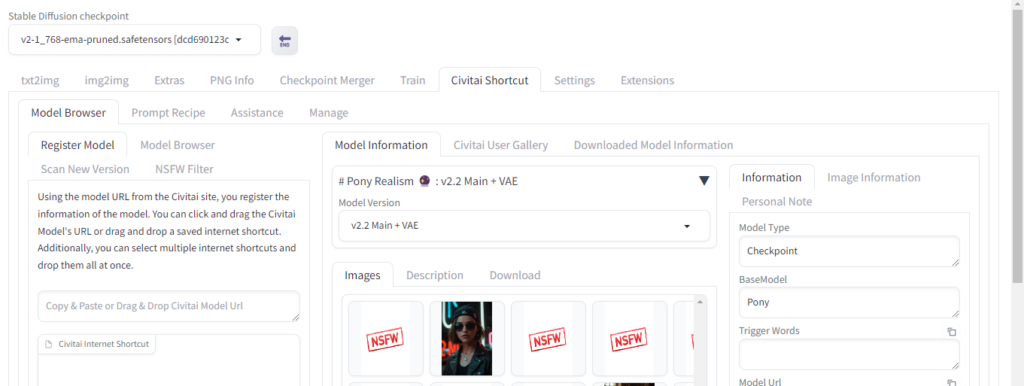
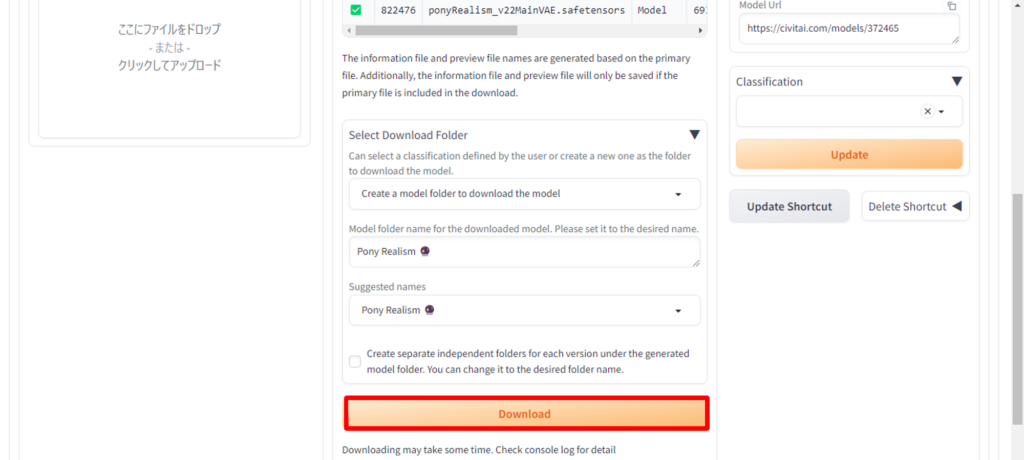
次に画面中央にある「Download」タブをクリックします。
下にスクロールして「Download」をクリックします。
GoogleColabの画面を見るとダウンロードが実行されていることが確認できます。
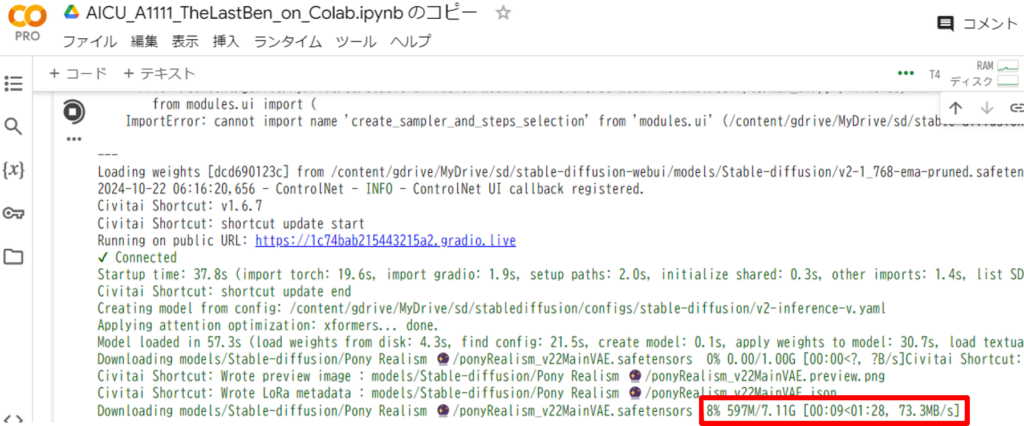
「successfully downloaded.」と表示されればダウンロード完了です。

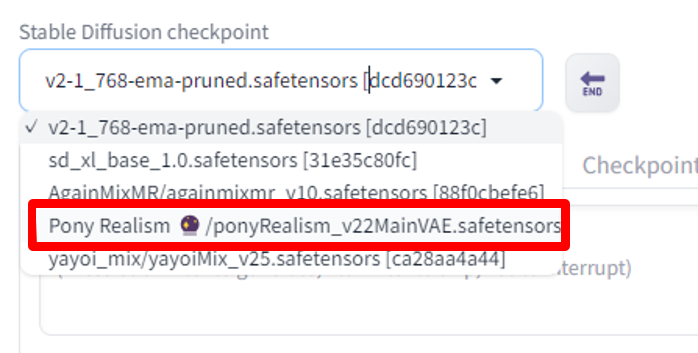
StableDiffusionWebUIの画面に戻り「←End」をクリックします。
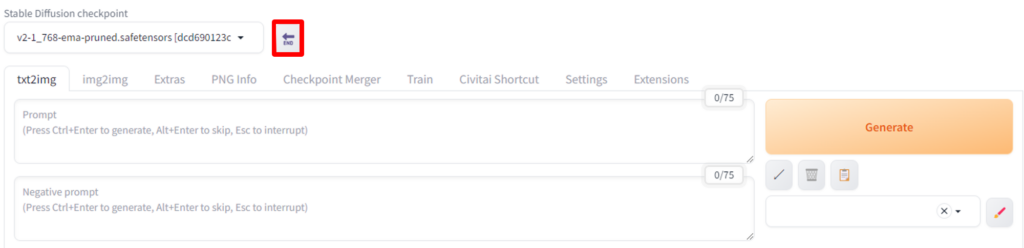
先ほどダウンロードしたモデルが選択できます。
画像を生成する
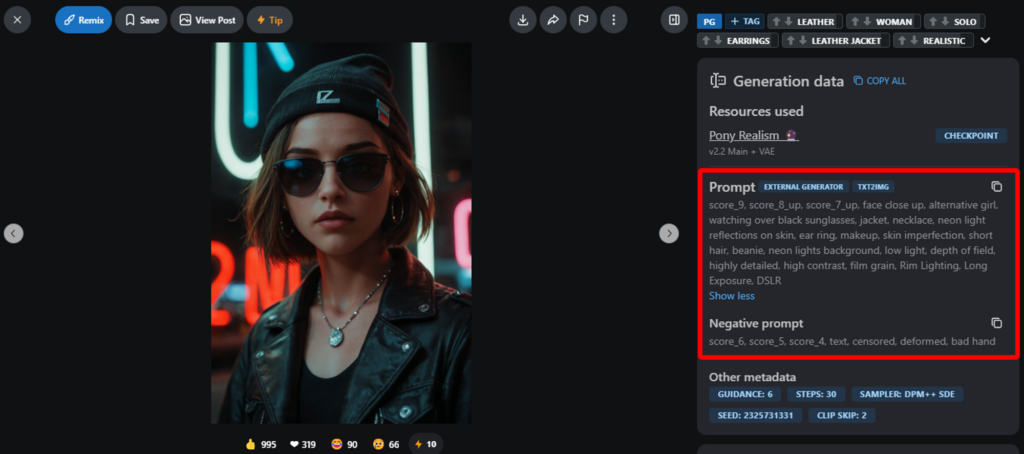
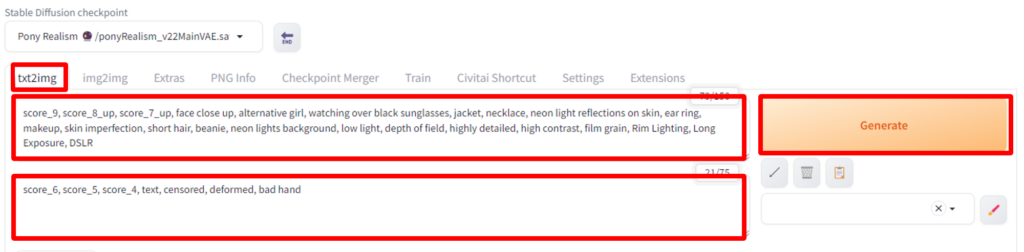
ようやく画像を生成できる状態になりました!「txt2img」タブを開き「Prompt」と「Negative prompt」に「Civitai」のPromptとNegative promptの値をコピーして貼り付けましょう。
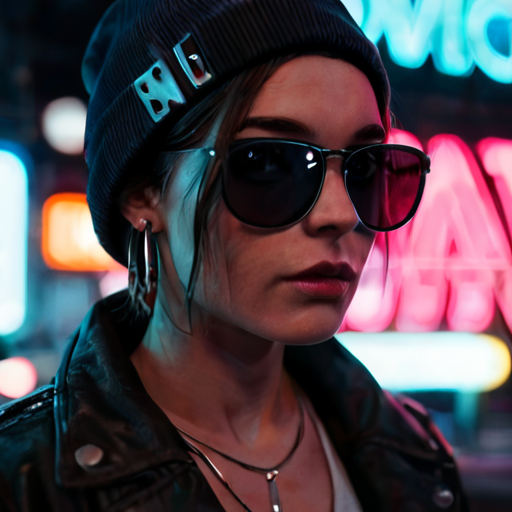
以下のような画像が生成されました!
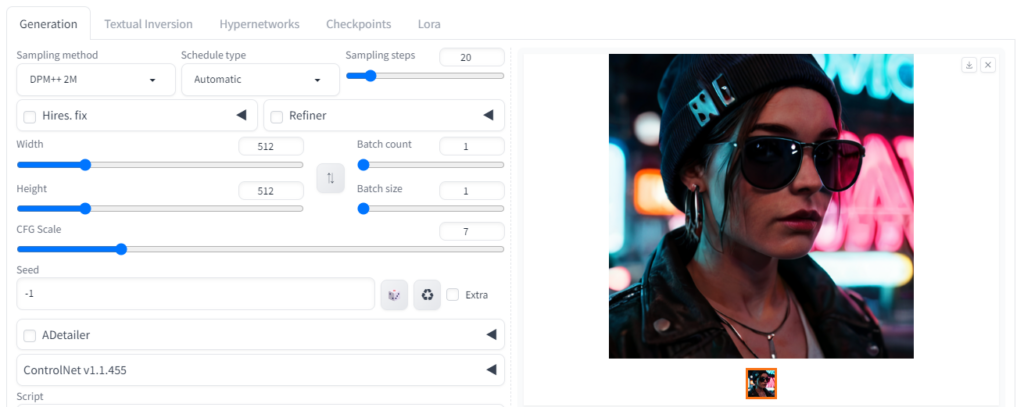
画像生成の方法は以上です!お疲れさまでした!!
おわりに
今回はStableDiffusionWebUIを使用して画像生成する方法をご紹介しました。
Civitai Shortcutを使用することでモデルのダウンロード時間を短くしてスムーズに画像生成することができました。
次回は、画像を動画に変換してくれるサイトを使用する方法をご紹介したいと思います。
ではまた。

コメント